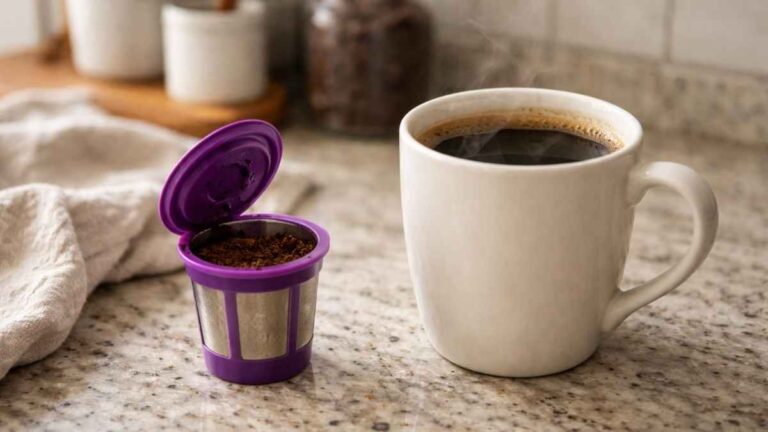
I took a sip of my hot brew and gagged. It tasted so stale and bad! My dirty pod was to blame. You must know how to wash reusable k cup pods. This is the key to a great mug. I tried hard to find the best way to clean reusable k cup filter mesh. Do you want to learn how to clean reusable k cup parts? I will share my quick daily wash and deep cleans. We will also fix bad clogs. Let’s fix your cup right now!
Why Reusable K Cup Maintenance Matters
Why does your brew taste bad? Old oils and grounds ruin fresh beans. Good reusable k cup maintenance stops this bad taste.Think of a dirty pan. You would not cook fresh food in it. Your coffee pod is the same. A clean reusable k cup filter means pure taste.
How does pod care save cash? Good care makes your pod last for years. You do not buy new ones. This keeps waste out of the trash.I used to toss old pods. Now, I use reusable k cup cleaning tips instead. It saves me so much cash. Plus, my brew tastes like a dream!
The Best Way to Clean a Reusable K Cup (Daily Routine)
What is the best way to clean reusable k cup pods daily? The best method is a quick Wash with warm water and mild soap immediately after use. I do this every single morning. It takes just one minute of my time to keep my morning brew tasting fresh.
1. Empty and Tap
How do you empty a reusable coffee pod? Just tap it gently on the edge of your trash bin to dump the old grounds. I like to toss my old grounds into my garden compost. Plants love coffee soil! This quick tap gets the big chunks out fast.
2. The Warm Water Rinse
When should you rinse your coffee pod? You must rinse your pod with warm water right after brewing. Do not let the wet grounds sit and get hard. Hard grounds are very tough to wash out later. A fast rinse makes the rest of the job so easy.
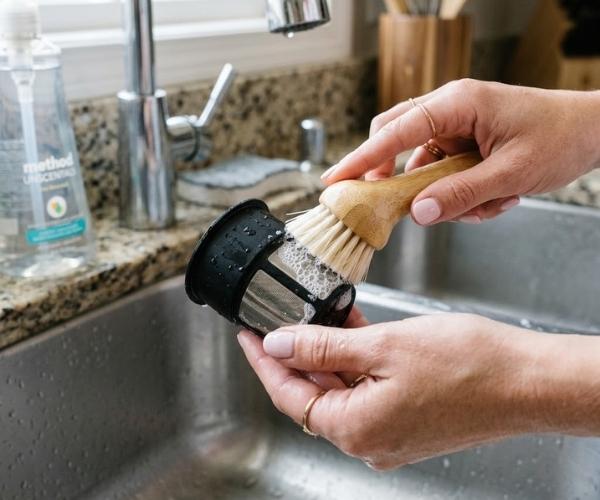
3. Gentle Scrub and Soap
How to wash reusable k cup parts safely? Use mild, unscented dish soap and a very soft brush. Unscented soap ensures your coffee does not taste like perfume later. A light scrub is all you need to clean reusable k cup filter holes without tearing the mesh.
4. Air Dry Completely
Why must you air dry your reusable pod? You must let the pod dry fully to stop mold from growing inside. I leave mine upside down on a clean kitchen towel. Wet parts can trap bad smells and ruin your next fresh cup.
Reusable K Cup Deep Cleaning (When Rinsing Isn’t Enough)
When do you need a reusable k cup deep cleaning? Deep clean your pod every one or two weeks. I drink two cups a day. My pod gets gross fast. A deep clean keeps my brew rich and fresh.
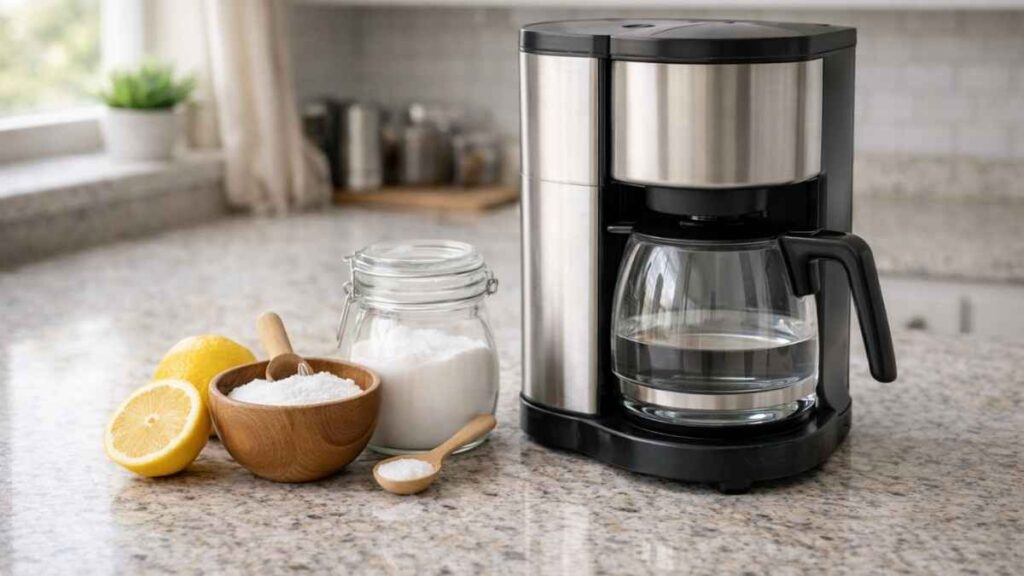
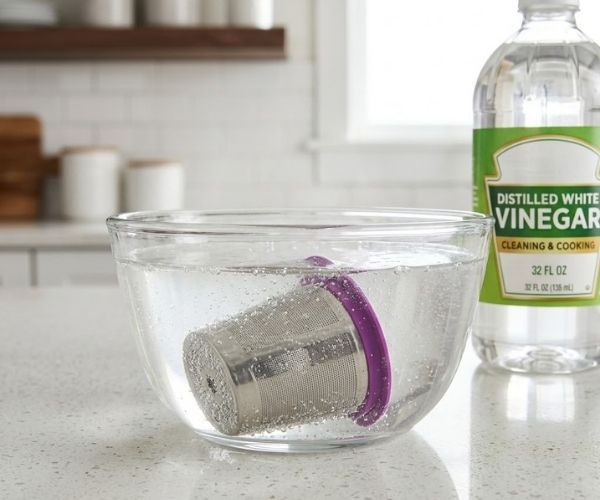
How do you use vinegar to clean your pod? Mix half warm water and half white vinegar. Soak your pod in it. Let it sit for ten full minutes. This soak breaks down tough coffee oils. It is my best trick!
Can baking soda clean your pod? Yes, baking soda and water lift hard stains fast. Make a thick paste. Use a soft brush to rub the mesh. It scrubs off brown marks well. It uses no harsh soap. Your pod will shine like new.
How to Clean Reusable K Cup Filter Clogs
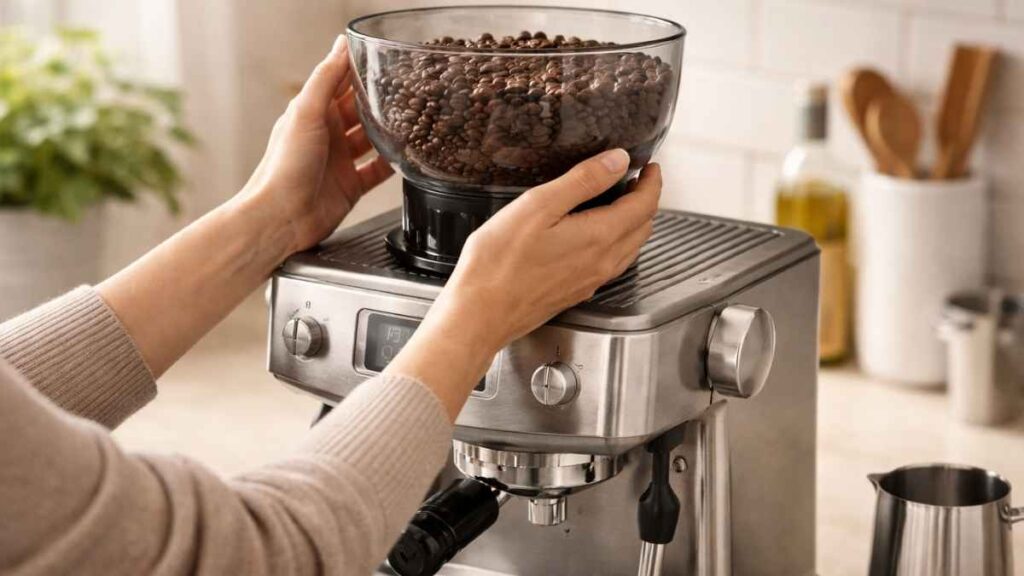
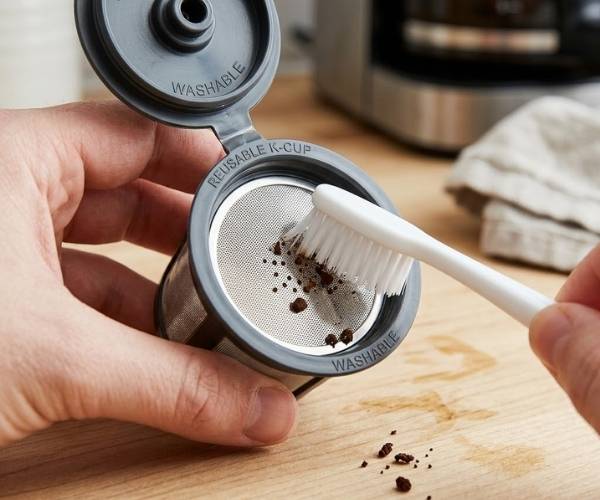
Why is your coffee dripping so slow? Filters get clogged when you use coffee beans that are ground too fine. The tiny coffee dust gets stuck tight in the mesh screen. This makes a big mess and leaves you with weak coffee. I did this once with fine espresso beans, and it was a real pain!
How do you fix a stuck mesh? The best way to clean a reusable k cup filter clog is to scrub it gently with a clean toothbrush. The soft brush bristles poke right into those tiny holes. They push the stuck grounds out without tearing the fine screen. It is a very cheap and fast fix that works great.
How can you stop clogs for good? Prevent clogs by always using a medium coffee grind instead of a fine grind. Medium bits are too big to get trapped in the small mesh holes. This small change keeps hot water flowing fast through the pod. Your morning cup will brew perfectly every single time.
Reusable K Cup Mold Cleaning: What You Need to Know
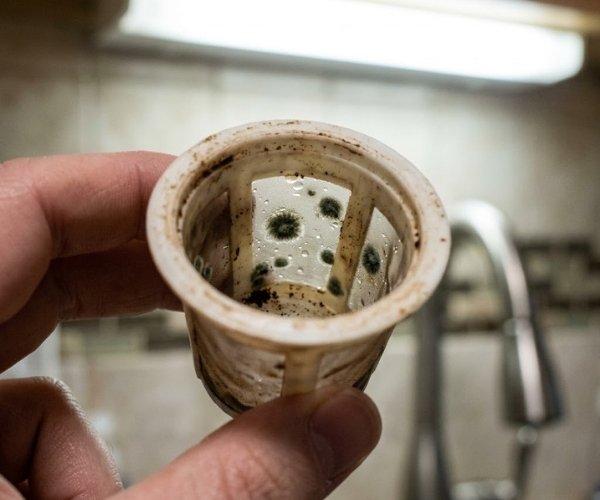
Why does mold grow in coffee pods? Mold grows fast when you leave a wet pod inside the warm coffee machine. It loves dark and damp spots. I once forgot my pod all weekend, and I found black fuzz inside. It is gross and bad for your health!
How do you kill pod mold? The best reusable k cup mold cleaning method is a hot vinegar soak. Boil some water first. Mix the hot water with white vinegar in a deep bowl. Drop your moldy pod in for twenty minutes to kill all the germs.
What is the last step to remove mold? After the hot soak, scrub the whole pod well with a soapy brush. If your pod is dishwasher-safe, run it on the top rack for a final clean. Always air dry it 100% before you use it again to stop mold from coming back.
Official Keurig “How to Use the Keurig My K-Cup Reusable Coffee Filter” Instructions – Official guidance from Keurig on removing used grounds and how to clean your reusable K-Cup after brewing.
Top Reusable K Cup Cleaning Tips from My Kitchen
What are the best reusable k cup cleaning tips? The best tips include using plain soap, hand washing, and picking the right coffee grind. I have tried it all in my own kitchen. Let me share my top secrets to save you time and grief!
- 1. Skip Scented Soaps Why does my coffee taste like soap? Your coffee tastes like soap because strong dish liquids leave a bad film on the mesh. You must use plain, unscented soap. I once used a strong lemon soap, and my morning brew was ruined. Plain soap keeps your coffee tasting like real coffee.
- 2. Wash by Hand When You Can Can you put a reusable pod in the dishwasher? Yes, but you must only put it on the top rack. High heat on the bottom rack will melt and warp the thin plastic. I prefer to wash mine by hand now. It is much safer and helps the pod last years longer.
- 3. Pick a Medium Grind What is the best coffee grind for reusable pods? A medium grind is the absolute best choice for your reusable pod. Fine powders will plug the tiny holes and make a huge mess. When I switched to medium grounds, washing the pod became so fast. The water flows right through, and the cleanup is a breeze!
Conclusion
Does a clean pod make better coffee? Yes, a clean pod is the true secret to a great cup. Old brown oils hide the rich taste of fresh beans. Now you know how to clean reusable k cup parts fast!
Is daily pod care hard to do? No, pod care is very fast and easy. Think of it like washing your face. It is a quick daily habit that keeps bad germs away. Good care gives you joy and pure taste.
What are your best coffee tips? Share your reusable k cup cleaning tips below! Do you have a fun trick that I missed? I would love to chat and learn new ways to brew. Let us make every cup great!
FAQs – Reusable K Cup Cleaning Questions
What is the best way to clean a reusable K cup if it smells bad?
Do a reusable k cup deep cleaning for bad smells. Put the pod in warm water and white vinegar. Wait ten minutes. This will clean reusable k cup filter parts and kill odors.
Can I put my reusable K cup in the dishwasher?
Yes, but check the pod box first. You must put it on the top rack only. The bottom gets too hot. Top rack washing is a great reusable k cup maintenance tip to stop melting.
How do I know when it’s time to replace my reusable pod?
Look for bent plastic or a torn mesh screen. If you know how to clean reusable k cup pods but they still drip slow, buy a new one. Fresh pods will make your brew taste good.
Related Post:
- How to Use a Keurig Machine
- How to clean a coffee maker without vinegar
- How to Fix Leaking Bunn Coffee Maker
- how to unlock hopper on breville coffee maker
- How to Dispose of Coffee Maker

“I’m Jackson, a coffee enthusiast and the founder of CofeBrew. I specialize in testing home brewing equipment and creating easy-to-follow recipes to help you brew the perfect cup every morning.”