How to Use a Keurig Machine: Proven Easy Results
Mornings are hard when you wake up late. I was so lost on how to use a Keurig machine at first. Now I can show you how to use Keurig machine step by step. Read these Keurig machine instructions with me to make your best cup right now!
Essential Keurig Brewer Setup Guide
Taking a new coffee maker out of the box is so fun. You probably want to make a hot drink right away. But wait just a minute! To set up a Keurig brewer out of the box, first remove all tape and wash the loose parts. This quick Keurig brewer setup guide will make sure your first cup is absolutely perfect.
Step 1: Unboxing and Cleaning
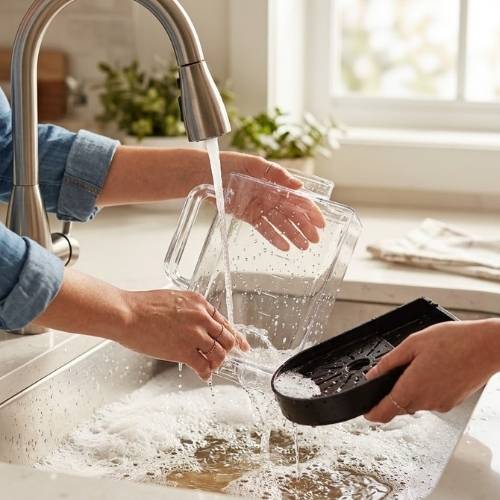
Let us start with a quick wash in the sink. Wash the Keurig water reservoir and drip tray with warm, soapy water before your first use. Rinse them both very well and dry them off with a towel. This simple step washes away any dirt or dust from the factory. Now your machine is fresh and ready for clean water.
Step 2: The Initial Cleansing Rinse
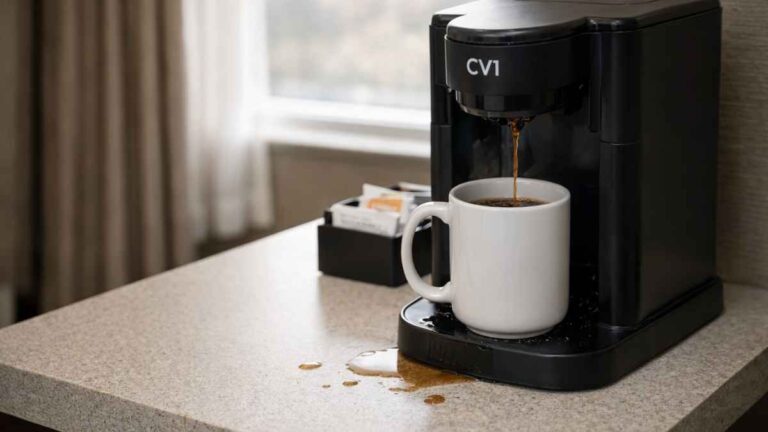
Next, you must flush the inside of the new machine. Run a water-only cycle without a K-Cup pod to perform the initial cleansing rinse. Just fill the tank with fresh water, put a mug on the tray, open and close the lid, and press brew. This pushes hot, clean water right through the internal pipes to clear them out.
I actually skipped this step with my very first machine. I was in such a rush to figure out how to use a coffee machine Keurig style before work. My first cup of expensive coffee tasted like weird plastic and cardboard! That first rinse is vital for a pure, sweet coffee flavor. Trust my experience, you do not want to skip this easy step.
How to Use Keurig Machine Step by Step
Are you ready for your first real cup? Learning how to use Keurig machine step by step is quite simple. Some models like the K-Mini or K-Elite look a bit different on the outside. Yet, the basic steps to brew coffee are exactly the same. Let us walk through this easy process together so you can enjoy your morning.
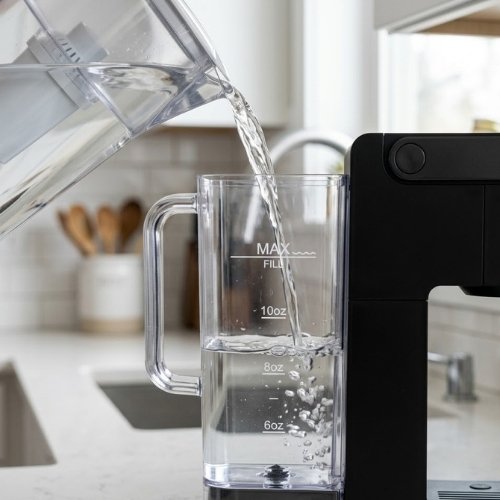
1. Fill the Water Reservoir
To fill the water reservoir, pour fresh water up to the MAX line or add the exact amount needed for a single cup. Large models hold enough water for many days. For single-serve Mini models, you must add the exact water amount (six to twelve ounces) for each brew. I highly recommend using fresh, filtered water. Filtered water tastes much better and stops bad scale from building up inside your brewer.
2. Power On the Machine
To power on the machine, press the power button or simply lift the main handle. Older models have a clear power button on the top or side that you must push first. On many newer models, simply lifting the handle turns the machine on automatically. I absolutely love this auto-on feature. It saves me a precious step on those dark, sleepy mornings!
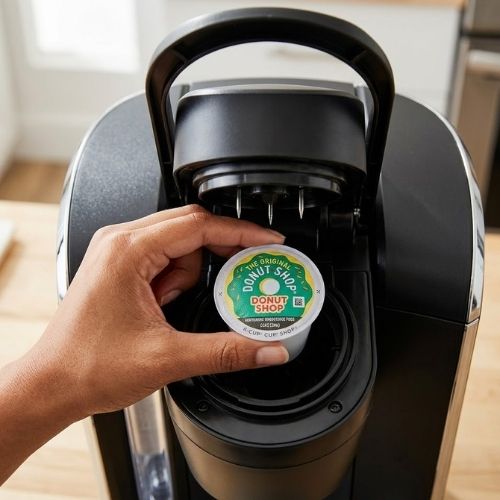
3. Insert Your K-Cup Pod
To insert your K-Cup pod, lift the handle, place the pod inside the holder, and press the handle down firmly. Please remember a crucial warning: do not remove the foil lid of the pod. The machine has sharp metal needles that pierce the foil for you. Simply drop the pod in and push the top handle down until it clicks.
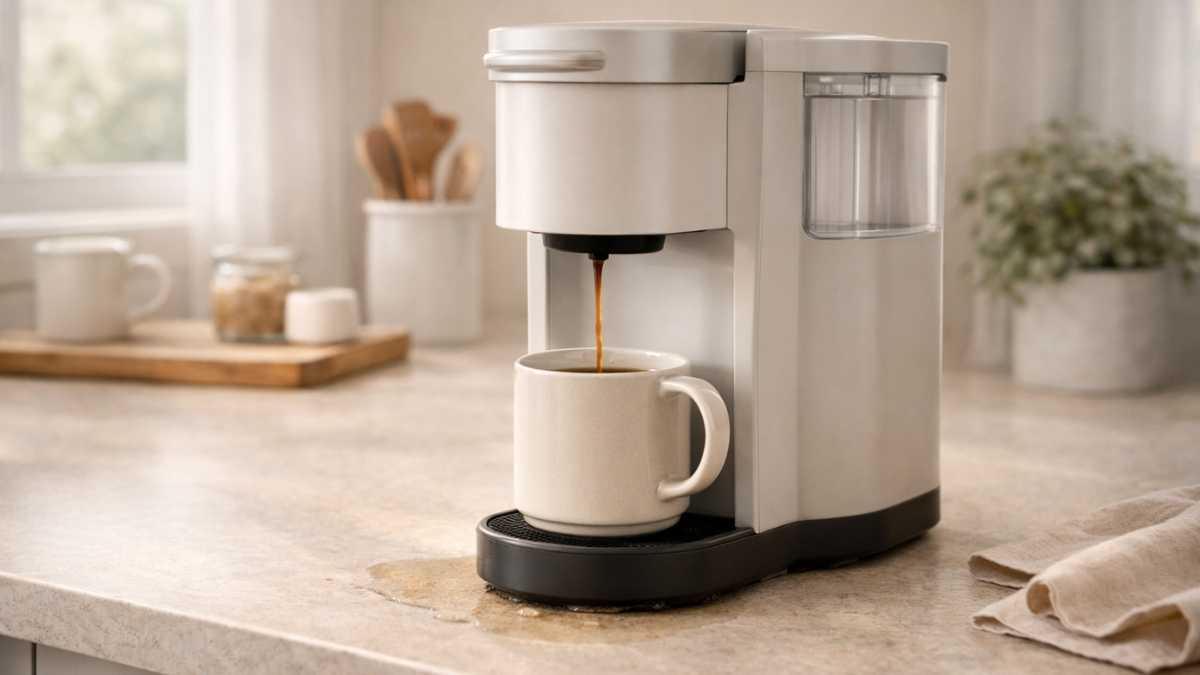
4. Position Your Coffee Mug
To catch your hot coffee, position your coffee mug flat on the drip tray below the spout. Make sure the cup is centered so nothing spills. Do you want to take your drink on the go? You can easily pull the drip tray out to make room for a tall travel mug. I do this every day to fit my favorite big mug for my drive to work.
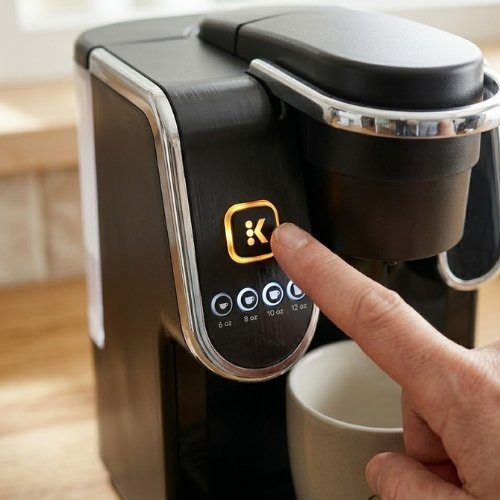
5. Select Your Brew Size and Start
To brew your coffee, select your desired cup size and press the large Brew button. Standard machines let you choose six, eight, ten, or twelve ounces. A smaller size always makes a much stronger, richer cup of coffee. Once you pick the perfect size, just press the flashing “K” or “Brew” button to begin the flow.
6. Discard the Used Pod
To finish up, wait for the dripping to stop, lift the handle, and carefully discard the used pod. Please be very careful when you grab it. The plastic pod and the foil lid get extremely hot during the brewing process. Toss it in the trash so your coffee maker is ready for the next person. Now you know exactly how to operate a Keurig machine with ease!
” How to Use a Keurig Coffee Maker (Keurig Official Support) — Step-by-step guide from Keurig’s official website explaining how to brew coffee, fill the water reservoir, insert K-Cups, and start a brew.”
My Personal Tips for Using a Keurig Machine Like a Barista
Now you know the steps. Let us make your cup the best. You can brew like a pro at home. Use these quick tips. They make good coffee taste great. Let me share my top tricks with you.
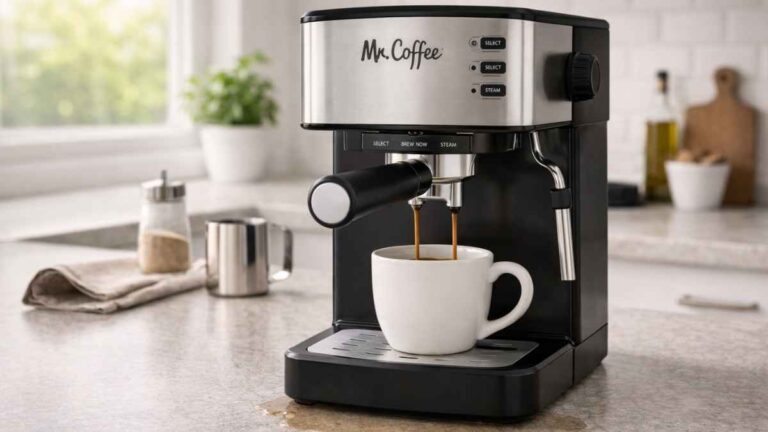
Try the Strong Setting
Do you want a big, bold taste? Look for the Strong key. Press it first. Then pick your cup size. This slows the hot water down. It pulls out a deep, rich taste. Your drink will taste like a shop made it. I use this mode each day. It wakes me up fast.
Always Run a Cleansing Rinse
Did you just make hot cocoa? You must run a clean rinse now. To run a clean rinse, just brew plain hot water with no pod. This washes out the sweet stuff. It cleans the small pipes. I do this right after sweet drinks. It keeps my next cup of black coffee tasting pure.
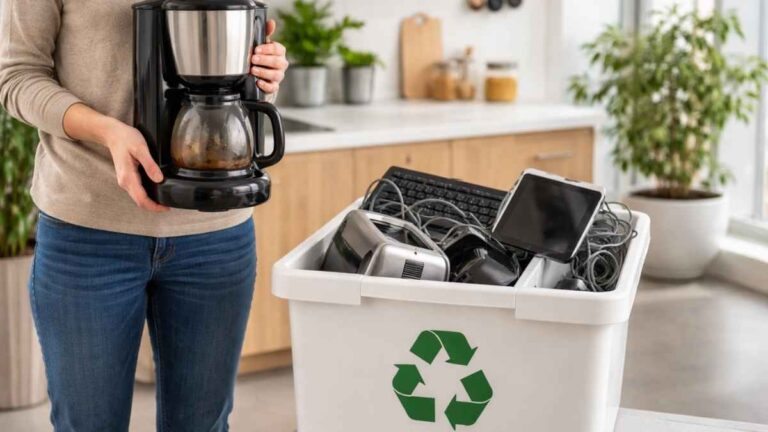
Use a My K-Cup Reusable Filter
Do you want to save cash? You can operate a Keurig machine with your own coffee. Use a My K-Cup Reusable Filter. Just fill the small net with fresh grounds. Then brew it as usual. This stops bad plastic waste. My top choice is a dark roast bean. I buy it from a shop close by. It brews so well in my pod.
Troubleshooting Common Keurig Issues
Sometimes things go wrong. A broken coffee maker is sad. Do not panic! We can fix most problems fast. I know how to use a Keurig coffee machine well. Let me help you fix yours now.
Brews Partial Cups?
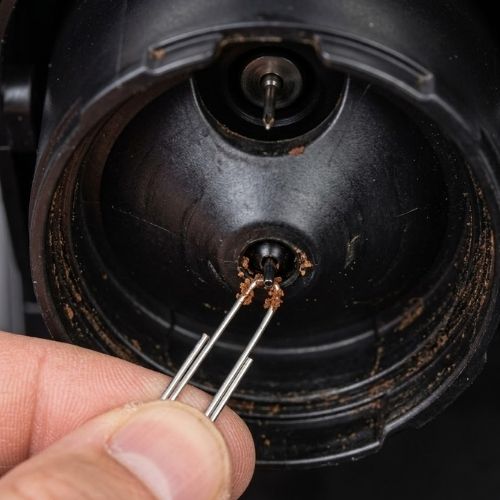
Did you get half a drink? If your Keurig brews partial cups, the exit needle is clogged. Old grounds get stuck there.
You can clean this fast. Just poke a thin pin up the bottom hole. This pushes out the old dirt. I did this last week. It saved my sad morning.
Slow Brewing or No Brewing?
Is your machine too slow? Does it not brew at all? If your machine stops, check the water tank first.
Make sure the plug is in. Make sure the power is on. If it still fails, the main needle needs a clean.
I once forgot to add water. My machine just sat there! A quick check fixes most slow days.
Clogged or Blocked Water Flow
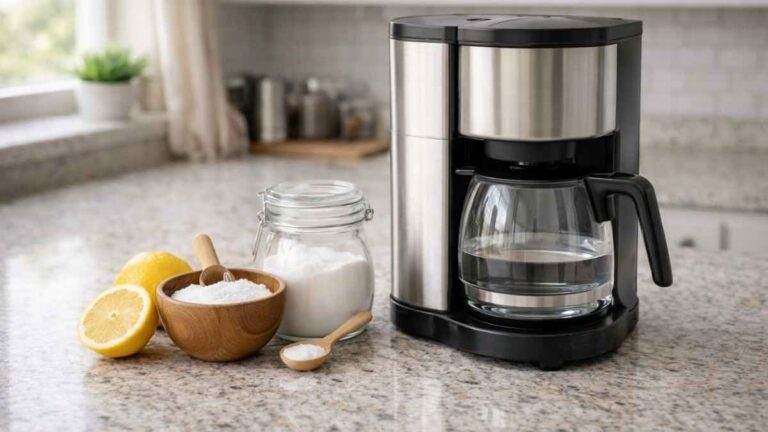
Are the inside pipes stuck? Hard water stops the flow. To fix a blocked flow, clean it with plain white vinegar.
This melts the hard scale away. It clears the small tubes out. Think of it like a spa day for your brewer.
Your water will run fast again. I do this to keep my drinks fresh. It works like pure magic.
Routine Maintenance: Keeping Your Coffee Maker Clean
Let us keep your brewer in top shape. Good care makes it last longer. It makes your daily cup taste better, too. You must clean it often to stop bad scale and dirt. Let me show you my easy care plan.
To clean a Keurig machine, wash the loose parts weekly and descale the inside pipes every few months. I made a simple chart for you to use. Keep it handy to save time later. I do these chores so my machine runs like new.
| Maintenance Task | Frequency | How to Do It |
| Descaling | Every 3–6 months | Run a full cycle with Keurig Descaling Solution or white vinegar to break down hard water calcium buildup. |
| Needle Cleaning | As needed | If the machine brews partial cups, carefully use a thin paperclip to clear old coffee grounds from the exit needle. |
| Daily Cleaning | Weekly | Wipe down the outside body and wash the loose drip tray and water reservoir with mild dish soap. |
Conclusion
Now you see how easy it is. Once you learn the steps, it is so fast. Using a Keurig machine is a joy each day. It really does save my mornings. You will never have to guess again.
I hope this helps you out. You can now make a great cup. Go try a new flavor right now. Tell me what your top choice is! Drop a note below with your favorite pod. Or send this guide to a friend who just bought one. Drink up and have a great day!
FAQs – How to Use a Keurig Coffee Machine
How do I use a Keurig machine for the first time?
To use a Keurig machine for the first time, fill the water tank, run a brew with no pod, then add a pod and press brew. This cleans the system and prepares the machine.
How much water should I add to a Keurig?
Add fresh water to the MAX fill line in the reservoir. A Keurig machine needs enough water to heat and brew correctly. Low water can cause weak coffee or stop brewing.
Can I use ground coffee in a Keurig?
Yes, you can use ground coffee in a Keurig machine with a reusable K-Cup. Use medium-ground coffee so water flows well and the brew stays smooth and balanced.
Why does my Keurig say descale?
Your Keurig says descale when mineral buildup slows water flow. Descaling removes scale, restores heat, and improves taste. Ignoring it can cause slow or weak brewing.
How long does a Keurig take to brew coffee?
Most Keurig machines brew coffee in about one minute. Heating and pouring are fast, which makes a Keurig coffee maker ideal for quick and easy daily use.
Related Post:
- How to Use a Keurig Machine
- how to clean bonavita coffee maker
- How to Fix Leaking Bunn Coffee Maker
- How To Use Greca Coffee Maker
- how to clean my braun coffee maker

“I’m Jackson, a coffee enthusiast and the founder of CofeBrew. I specialize in testing home brewing equipment and creating easy-to-follow recipes to help you brew the perfect cup every morning.”